This tutorial demonstrates how to Authenticated Images with ReactJS through BoltonSea API

Project Setup:
npx create-next-app@latestcd my-app
✔ What is your project named? … my-app
✔ Would you like to use TypeScript? … No
✔ Would ... code inside a `src/` directory? / Yes
✔ Would ... use Turbopack? (recommended)/ Yes
✔ Would ... import alias (`@/*` by default)? … No
✔ Creating a new Next.js app in my-app? Enter
src/pages/index.js to create a simple functional component:
import { useState, useEffect } from "react";import Head from "next/head";import styles from "@/styles/Home.module.css";import { getImageData } from "./lib";
// private_url of an imageconst AUTH_IMAGE_URL = "https://api.boltonsea.com/media/file/140/2025/10/donut.jpg";
// API_KEY with READ & WRITE Accessconst API_KEY = "00-55AA2299DDBB...";
export default function Home() {  const [previewFile, setPreviewFile] = useState(null);
  useEffect(() => {    getImageData(AUTH_IMAGE_URL, API_KEY)    .then((fileContent) => {      fileContent && setPreviewFile(fileContent);    });  }, []);
  return (    <>      <Head>        <title>View Authenticated Images </title>        <meta name="description" content="View Authenticated Images" />        <link rel="icon" href="/favicon.ico" />      </Head>      <div className={`${styles.page}`}>        <main className={styles.main}>          <img className={styles.logo} src={previewFile} alt="Donut Images" />        </main>      </div>    </>  );}
Library JS File (lib.js):
src/pages/lib.js to create a librayr file with functions to make API requests:
// Triggers the API call to the backend service & applying the API_KEY with the requestexport async function getImageData(url, api_key) {
  const response = await fetch(url, {    method: "GET",    headers: { "X-API-KEY": api_key },    responseType: "arraybuffer",  });
  if (!response.ok) {    console.error(`error: ${response.status}`);    return null;  }
  const blob = await response.blob();  return imageBlobToBase64(blob);}
// Converts an Image FileStream to Base64Blobasync function imageBlobToBase64(blob) {  return new Promise((onSuccess, onError) => {    try {      const reader = new FileReader();      reader.onload = function () {        onSuccess(this.result);      };      reader.readAsDataURL(blob);    } catch (e) {      onError(e);    }  });}
Running the Application: Start the development server:
npm run dev
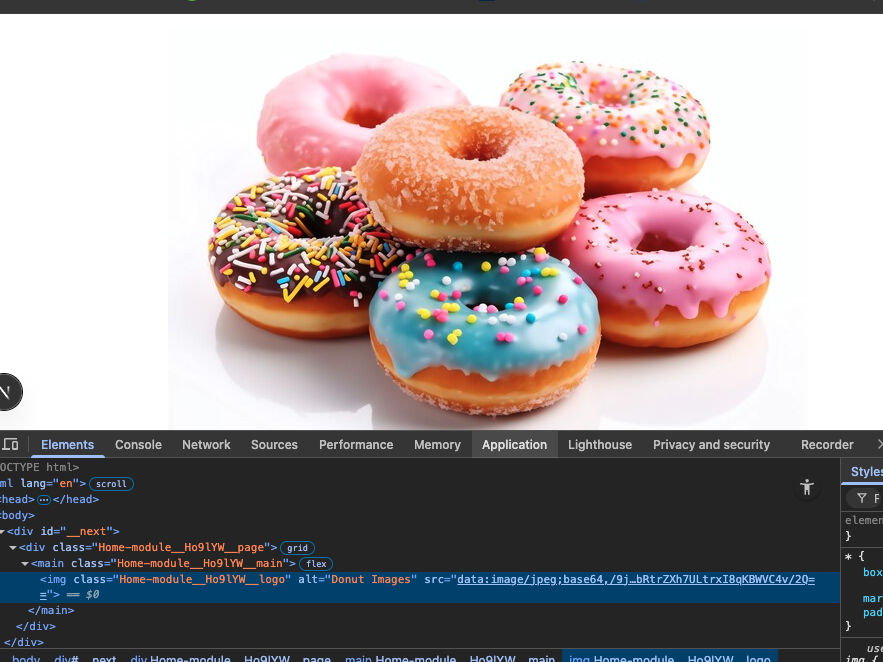
Browser Page

The screenshot above has a Chrome Broswer displaying what the HTML image tag with a base64 content as source (src).
The getImageData(url, api_key) function makes an API call by appending the API_KEY in the request, then passes the response's FileStreem blob into function imageBlobToBase64(blob) which converts the blob into a Base64 blog.
Note:
http://localhost:3000API_KEYs at the front-end where users can gain access to your secured keys